


 如何使用DS3231模块制作一个计时器

步骤1:编码
首先,您需要一个DS3231模块及其库:
http://www.rinkydinkelectronics.com/library.php?id 。..
通过Sketch》 Include库将.zip文件夹添加到Arduino IDE中》添加.zip库并找到保存的DS3231.zip库。
使用编程的基本知识,请使用if操作员设置警报或所需的计时器功能。
将&&插入 add 和运算符。 (请参阅最后几行)
#include
// Init the DS3231 using the hardware interface
DS3231 rtc(SDA, SCL);
// Init a Time-data structure
Time t;
void setup()
{
// Setup Serial connection
Serial.begin(115200);
// Uncomment the next line if you are using an Arduino Leonardo
//while (!Serial) {}
// Initialize the rtc object
rtc.begin();
// The following lines can be uncommented to set the date and time
//rtc.setDOW(SUNDAY); // Set Day-of-Week to SUNDAY
//rtc.setTime(12, 0, 0); // Set the time to 12:00:00 (24hr format)
//rtc.setDate(1, 1, 2016); // Set the date to DD/MM/YYYY
}
void loop()
{
t = rtc.getTime(); // Get data from the DS3231
// Send date over serial connection
Serial.print(“Date: ”);
Serial.print(t.date, DEC);
Serial.print(“/”);
Serial.print(t.mon, DEC);
Serial.print(“/”);
Serial.print(t.year, DEC);
Serial.println();
// Send Day-of-Week and time
Serial.print(“Day of Week: ”);
Serial.print(t.dow, DEC);
Serial.println();
Serial.print(“Time: ”);
Serial.print(t.hour, DEC);
Serial.print(“:”);
Serial.print(t.min, DEC);
Serial.print(“:”);
Serial.print(t.sec, DEC);
Serial.println();
Serial.println(“--------------------------------”);
delay(1000); //Delay is for displaying the time in 1 second interval.
if (t.hour == 14 && t.min == 32 && t.sec == 53)
//Setting alarm/timer at every 2:32:53pm,
//in other words you can insert t.dow for every Thursday?, t.date for specific date?
{ digitalWrite(99, HIGH); delay(5000);
//Lets say that your component is wired to pin 99 and be switched on for 5 seconds,
//whatever you want to do with it
}
}
第2步:告诉时间
更新08/21/2016:显然,在您第一次设置时间后,
rtc.setDOW(SUNDAY); // Set Day-of-Week to SUNDAY
rtc.setTime(12, 0, 0); // Set the time to 12:00:00 (24hr format)
rtc.setDate(1, 1, 2016); // Set the date to DD/MM/YYYY
您几乎将时间“消耗”到了模块中。现在,
1。您可以关闭并打开Arduino的电源,而不会弄乱DS3231模块中的时间,否则Arduino会使用“ void setup()”命令将时间重置为您设置的原始时间。换句话说,重新启动Arduino意味着重做代码中的所有内容。
2。因此,删除上述命令并仅使用:
void loop(){
Serial.begin(115200);
rtc.begin();
}
,而不是通过读取RTC DS3231模块中的“燃烧”时间来告知时间。
步骤3:结论和参考
总而言之,如果要关闭电源并打开Arduino的电源,并且希望“燃烧”的时间保持静止,则需要进行两次上传过程。首先是“刻录”时间,其次是删除“刻录”代码。而已。简单吧?
责任编辑:wv
-
计时器
+关注
关注
1文章
435浏览量
35439 -
DS3231
+关注
关注
2文章
52浏览量
24447
发布评论请先 登录
探索DS3231MPMB1外设模块:高精度实时时钟的理想之选
探索DS3231M:高精度I2C实时时钟的卓越之选
ADG3231单通道电平转换器:小身材大作用
深入解析 Adafruit DS3231 精密 RTC 模块:从特性到应用
客户案例分享 | 毫秒定胜负,这款赛事级连接器守护成绩公正

DS3231M:高精度 I2C 实时时钟的全方位解析
探秘DS3231:高精度RTC的卓越之选
DS1682:集成式累计时间记录器的技术剖析与应用指南
深入解析DS1557:功能强大的非易失性计时RAM
【瑞萨RA × Zephyr开发板评测】+ E2PROM
耐电痕化指数测定仪:滴液计时器设置与终点判据的深度解读
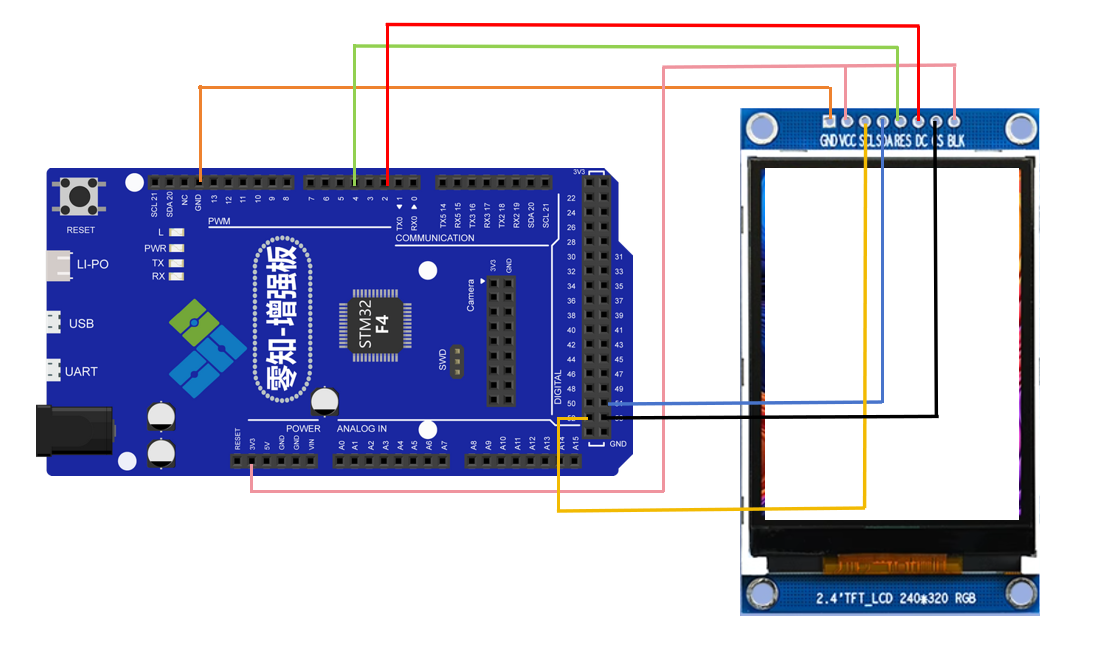
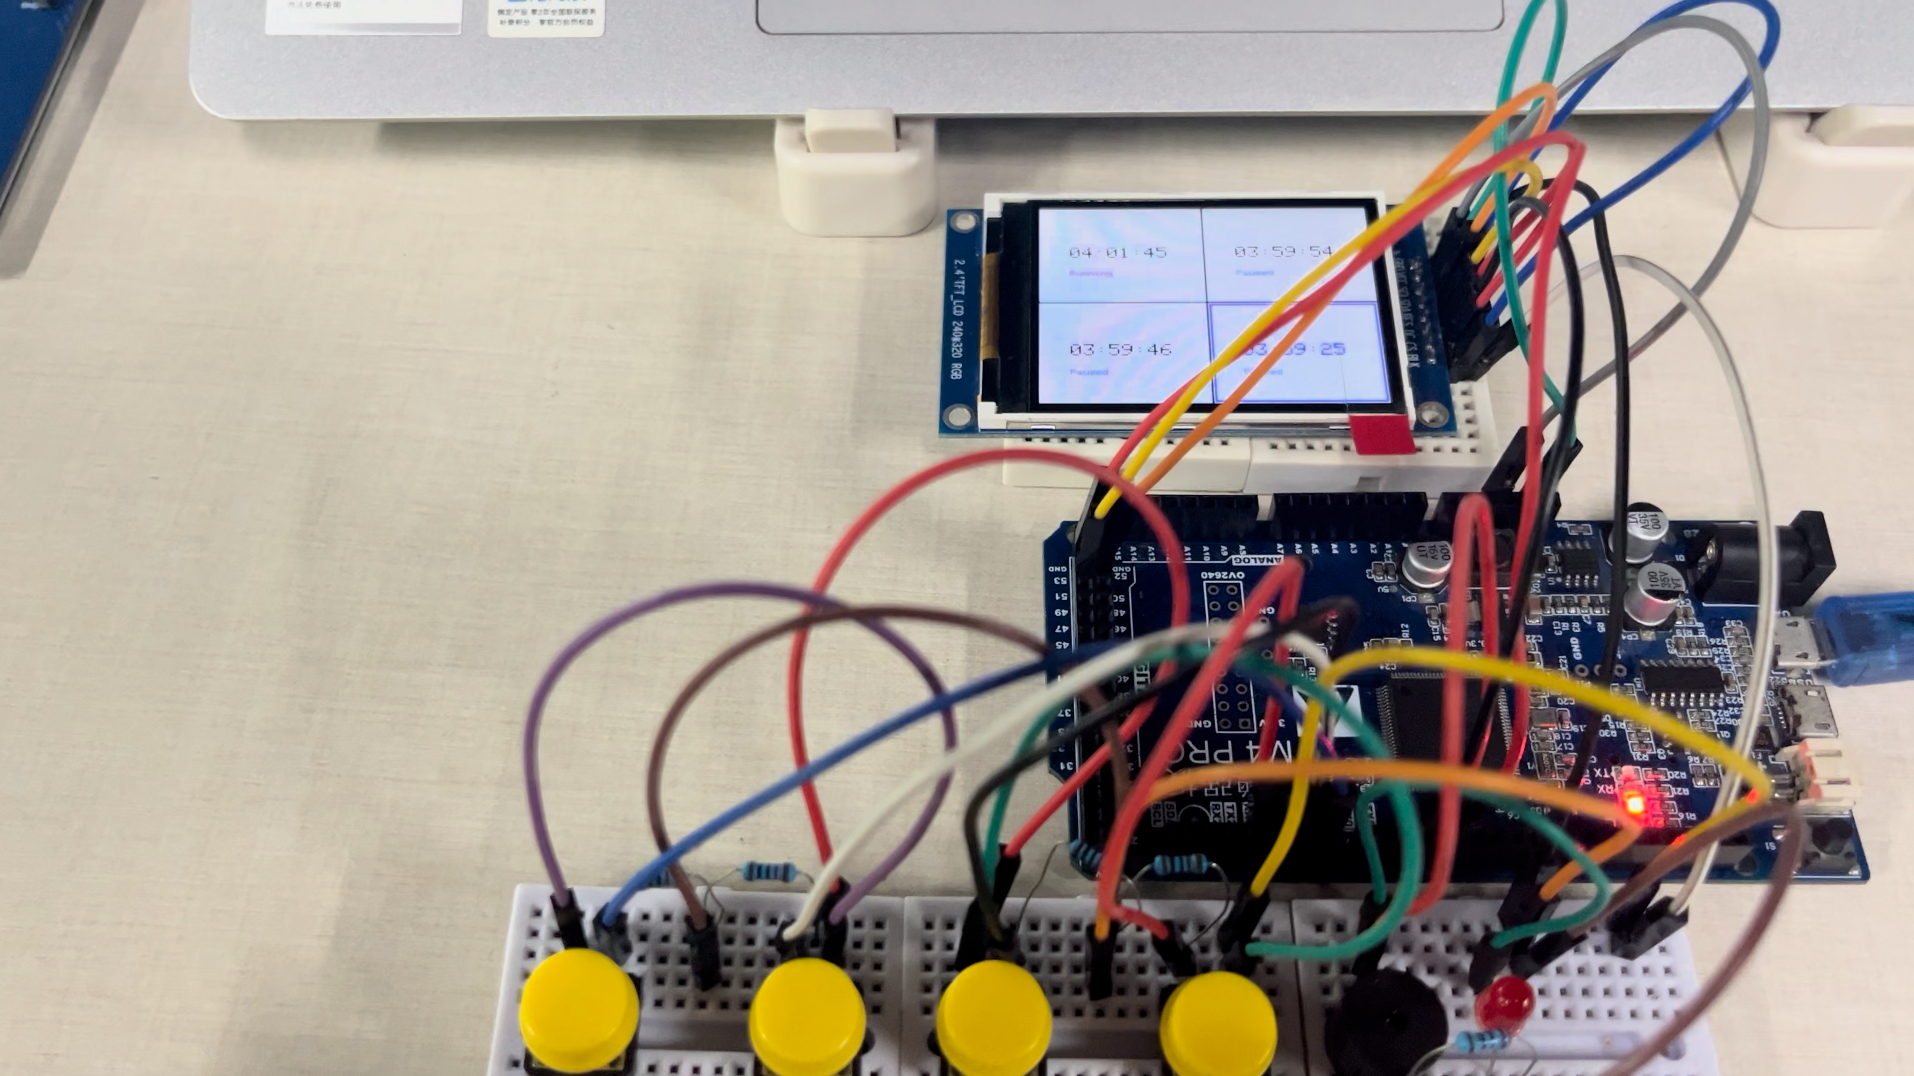
零知开源——基于STM32F407VET6零知增强板的四路独立计时器
零知开源——基于STM32F407VET6零知增强板的四路独立计时器
纳祥科技客户案例 | 集计时、照明、装饰于一体的电子沙漏计时器方案




评论