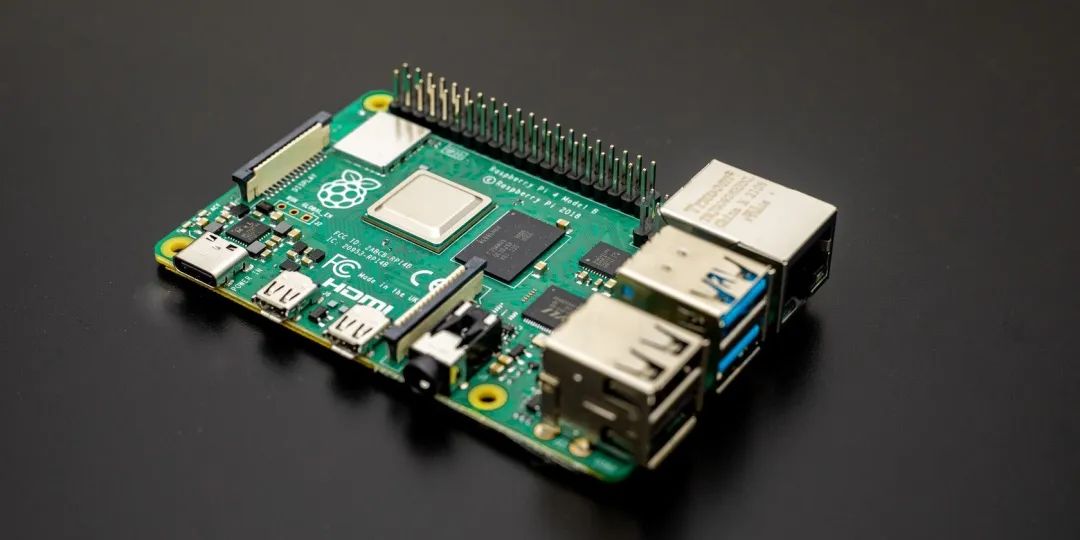
 如何在树莓派4上安装 openwrt?

openwrt
- OpenWrt镜像:https://archive.openwrt.org/releases/22.03.2/targets/bcm27xx/bcm2711/openwrt-22.03.2-bcm27xx-bcm2711-rpi-4-ext4-factory.img.gz
- OpenWrt工具链:https://archive.openwrt.org/releases/22.03.2/targets/bcm27xx/bcm2711/openwrt-toolchain-22.03.2-bcm27xx-bcm2711_gcc-11.2.0_musl.Linux-x86_64.tar.xz
- 版本:22.03.2
安装
At the PC:
#unzip the Image
gzip -d openwrt-21.02.0-bcm27xx-bcm2708-rpi-squashfs-factory.img.gz
# insert SD-card and check the name, alternatively check dmesg
lsblk
# copy the Image 1:1 to the SD-card
sudo dd if=openwrt-21.02.0-bcm27xx-bcm2708-rpi-squashfs-factory.img of=/dev/mmcblk0 bs=1M conv=fsync
扩展文件系统
SSH INTO THE RASPBERRY PI:
opkg install kmod-usb-storage kmod-usb-ohci kmod-usb-uhci e2fsprogs fdisk resize2fs
fdisk /dev/mmcblk0

(also see the less finicky way by @SemperEnim below):

To make it clear what I entered, here the complete session of fdisk. Please note how the first sector remains unaltered:
Welcome to fdisk (util-linux 2.36.1).
Changes will remain in memory only, until you decide to write them.
Be careful before using the write command.

Command (m for help): p
Disk /dev/mmcblk0: 14.99 GiB, 16096690176 bytes, 31438848 sectors
Units: sectors of 1 * 512 = 512 bytes
Sector size (logical/physical): 512 bytes / 512 bytes
I/O size (minimum/optimal): 512 bytes / 512 bytes
Disklabel type: dos
Disk identifier: 0x5452574f

Device         Boot  Start    End Sectors  Size Id Type
/dev/mmcblk0p1 *      8192 139263  131072   64M  c W95 FAT32 (LBA)
/dev/mmcblk0p2      147456 360447  212992  104M 83 Linux

Command (m for help): d
Partition number (1,2, default 2): 2

Partition 2 has been deleted.

Command (m for help): n
Partition type
   p   primary (1 primary, 0 extended, 3 free)
   e   extended (container for logical partitions)
Select (default p): p
Partition number (2-4, default 2): 2
First sector (2048-31438847, default 2048): 147456
Last sector, +/-sectors or +/-size{K,M,G,T,P} (147456-31438847, default 31438847):

Created a new partition 2 of type 'Linux' and of size 14.9 GiB.
Partition #2 contains a squashfs signature.

Do you want to remove the signature? [Y]es/[N]o: n

Command (m for help): p

Disk /dev/mmcblk0: 14.99 GiB, 16096690176 bytes, 31438848 sectors
Units: sectors of 1 * 512 = 512 bytes
Sector size (logical/physical): 512 bytes / 512 bytes
I/O size (minimum/optimal): 512 bytes / 512 bytes
Disklabel type: dos
Disk identifier: 0x5452574f

Device         Boot  Start      End  Sectors  Size Id Type
/dev/mmcblk0p1 *      8192   139263   131072   64M  c W95 FAT32 (LBA)
/dev/mmcblk0p2      147456 31438847 31291392 14.9G 83 Linux

Command (m for help): w
The partition table has been altered.
Syncing disks.
REBOOT AND LOG IN AGAIN
The device usage and sizes are now as follows (my SD-card is 16 GB in size). The size needs still needs to be adjusted:
df -h
Filesystem                Size      Used Available Use% Mounted on
/dev/root                 4.3M      4.3M         0 100% /rom
tmpfs                   217.9M     52.0K    217.9M   0% /tmp
/dev/loop0               92.7M      2.6M     83.1M   3% /overlay
overlayfs:/overlay       92.7M      2.6M     83.1M   3% /
/dev/mmcblk0p1           63.9M     17.3M     46.6M  27% /boot
tmpfs                   512.0K         0    512.0K   0% /dev
Actually this was easier than expected, simply use resize2fs:
opkg update && opkg install resize2fs

resize2fs /dev/loop0

resize2fs 1.45.6 (20-Mar-2020)
Filesystem at /dev/loop0 is mounted on /overlay; on-line resizing required
old_desc_blocks = 1, new_desc_blocks = 120
The filesystem on /dev/loop0 is now 15641408 (1k) blocks long.
AND NOW DF -H RETURNS THE ADJUSTED SIZE:
df -h
Filesystem                Size      Used Available Use% Mounted on
/dev/root                 4.3M      4.3M         0 100% /rom
tmpfs                   217.9M     56.0K    217.9M   0% /tmp
/dev/loop0               14.5G      3.1M     13.9G   0% /overlay
overlayfs:/overlay       14.5G      3.1M     13.9G   0% /
/dev/mmcblk0p1           63.9M     17.3M     46.6M  27% /boot
tmpfs                   512.0K         0    512.0K   0% /dev
WX:上海晶珩电子
审核编辑黄宇
声明:本文内容及配图由入驻作者撰写或者入驻合作网站授权转载。文章观点仅代表作者本人,不代表电子发烧友网立场。文章及其配图仅供工程师学习之用,如有内容侵权或者其他违规问题,请联系本站处理。
举报投诉
-
OpenWrt
+关注
关注
10文章
136浏览量
41508 -
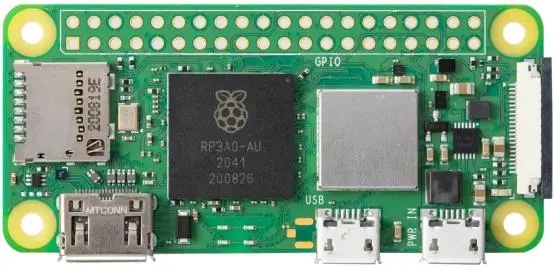
树莓派
+关注
关注
122文章
2086浏览量
110936
发布评论请先 登录
相关推荐
热点推荐
如何在树莓派上安装并运行 Arduino 集成开发环境!
,我们将介绍如何在树莓派上安装并运行ArduinoIDE。所需物品要在树莓派上运行ArduinoIDE,你需要以下组件:配备适当电源的树莓
树莓派3硬件配置_树莓派3都能装什么系统_树莓派3系统安装教程
树莓派3一直颇受电子发烧友的青睐,这篇文章主要讨论的就是树莓派3的硬件配置、树莓派3都能装什么系
发表于 12-08 14:36
•2.8w次阅读
【树莓派】树莓派4B新手篇:安装官网Raspbian Buster系统及基础配置
目录1、前言2、树莓派4B有什么特色?3、树莓派新手准备4、烧录Raspbian Buster系
发表于 11-06 18:21
•26次下载

人脸识别指南:如何在树莓派上安装和设置 Dlib
学习如何在树莓派上安装Dlib并配置人脸识别功能,为您的AI项目奠定基础。在树莓派上安装Dlib的详细步骤要为

如何在树莓派 AI HAT+上进行YOLO目标检测?
大家好,接下来会为大家开一个树莓派5和YOLO的连载专题。内容包括四个部分:在树莓派5上使用YOLO进行物体和动物识别-入门指南在
如何在树莓派 AI HAT+上进行YOLO姿态估计?
大家好,接下来会为大家开一个树莓派5和YOLO的连载专题。内容包括四个部分:在树莓派5上使用YOLO进行物体和动物识别-入门指南在


评论